
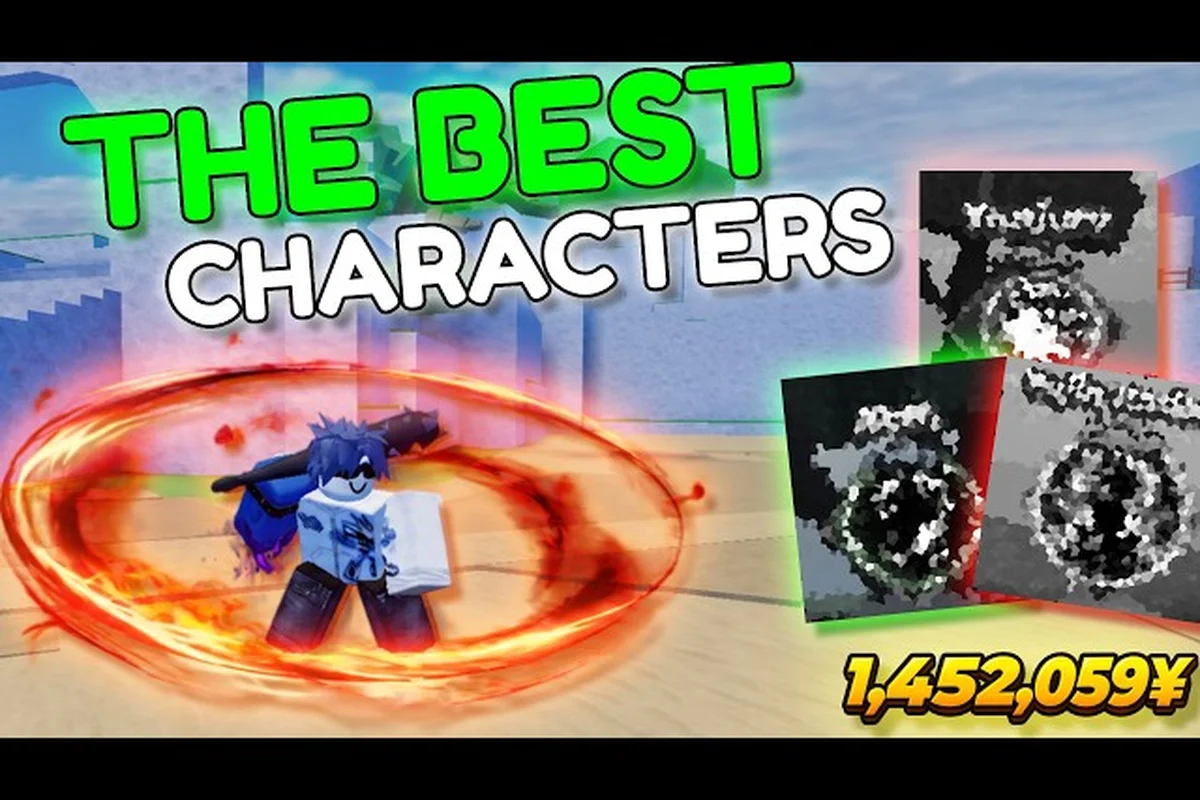
Winning in Anime Ability Arena is less about button-mashing and more about reading the tempo of every exchange. This Anime Ability Arena strategy guide breaks down the core decisions that separate first-timers from players who consistently top the kill feed, from spacing and cooldown discipline to matchup knowledge and ability selection.
The arena currently runs 18 players per server with 17 playable characters, each packing a unique moveset that swings the pace of a fight the moment it connects. According to the official Anime Ability Arena page on Roblox, kills pay out in Yen, which is the in-game currency used to unlock new characters and ability kits, so every clean fight you take compounds into roster growth. That is why this complete guide focuses on the decision layer between your inputs, not just which button to press. The rest of this article walks through the building blocks, from positioning to cooldown pressure, that turn an Anime Ability Arena first time playing session into a steady climb.
If you have not yet picked a starter, the cheapest character breakdown lines up well with the budgeting logic we use in the ability section below, and it specifically flags the lowest-cost characters whose kits still teach you cooldown discipline, spacing, and bait patterns instead of letting you brute-force fights with raw Yen spent on flashy meta picks before you understand neutral.
Core Combat Building Blocks
Before any advanced tactics land, you need the four fundamentals working on autopilot: positioning, blocking, cooldown awareness, and resource (Yen) management. Skipping any of them is the single most common reason Anime Ability Arena first time playing sessions end with a 2-12 K/D.
Positioning and Spacing
Anime Ability Arena plays on a relatively open battleground, so the difference between a fight you win and a fight you lose is often decided 2-3 seconds before the first hit lands. Good positioning means you are always near at least one escape route, a wall you can bait opponents into, or a high-traffic area where you can chain kills. Bad positioning means you are stuck in a corner with no cooldowns and three enemies collapsing.
The basic rule is to fight near the center ring when you are still learning, because it gives you the shortest distance back to safety. As you improve, you start pushing toward edge zones where wounded players retreat, which is where most free kills happen.
Blocking, Dodging, and Mobile Controls
Blocking is the single most underrated mechanic in Anime Ability Arena. A held block reduces incoming damage by a large percentage and lets you counter off a successful guard, which is huge when you are out of cooldowns. Dodging, by contrast, burns stamina and has a brief recovery window, so spamming it will get you punished.
On touchscreens the layout differs, and the mobile blocking and settings walkthrough shows where to place the block button so your thumb does not have to leave the movement stick. PC players can skip the mobile-specific advice but should still rebind block to a comfortable key (many players use the right mouse button) so they can hold it without losing movement control.
Baiting the Enemy Cooldown Bar
Every ability in Anime Ability Arena has a visible cooldown bar on the HUD. Players who win consistently treat that bar like a stopwatch: they watch an opponent burn their big move, count the cooldown, and then re-engage the moment the bar refills past the danger threshold. The combat loop rewards cooldown baiting over raw aggression.
Yen as a Resource, Not Just a Score
Yen is the only progression currency in the arena, and it pays for new characters and ability kits. According to the official Roblox listing for Anime Ability Arena, Yen is earned by defeating other players, which means the more efficient your fights, the faster your roster grows. Treat every death as a Yen leak and every kill as a Yen investment.
Reading the Matchup Before It Starts
A strategy guide is only useful if it tells you what to do before the first ability is thrown. In Anime Ability Arena, the pre-fight read happens in roughly two seconds and decides the outcome more often than mechanical skill.
Identifying Character Archetypes
Even with 17 characters on the roster, most kits fall into four archetypes that you can identify from the silhouette and the first weapon glow: a melee-leaning Rushdown stance, a backstep Zoning posture, a grounded Tank hunker, and a flickery Assassin read. Watching the opening 3–4 seconds of neutral is usually enough to lock the read, since each archetype telegraphs its spacing intent before committing to a first hit. That early classification is what turns reactive play into a pre-planned punish route against the archetype table that follows.
| Archetype | Typical Strength | Typical Weakness | How to Punish |
|---|---|---|---|
| Rushdown | Burst melee, fast startups | Low HP, weak to kiting | Keep distance, punish recovery |
| Zoning | Ranged poke, area denial | Slow in close quarters | Dash through projectiles, punish reload |
| Tank | High HP, guard breaks | Sluggish, limited mobility | Circle-strafe, hit-and-run |
| Assassin | Teleports, iframe dodges | Squishy, weak to trades | Save a counter for the opener |
If you can place the opponent into one of those four buckets within the first exchange, the rest of the fight becomes a checklist. This is also where an Anime Ability Arena first time playing player guide pays off, because it teaches the visual tells for each archetype before you queue into a real match.
Tempo Reads
Every Anime Ability Arena fight has a tempo: it either speeds up (both players are on the offensive, abilities are flying) or it slows down (both players reset, cooldowns are down, lots of strafing). The smartest players force the tempo. If you have cooldowns, push the pace. If your cooldowns are down, slow the fight down and reset spacing.
A common mistake in any Anime Ability Arena strategy guide is to mirror the opponent's tempo, which usually means you are reacting instead of dictating the match. Pick your own pace, commit to a speed-up or slow-down rhythm, and force the opponent to adjust to you — tempo control is one of the clearest separating factors between mid-rank and high-rank ladder players.
Ability Selection and Loadout Logic
Abilities are where most anime ability arena strategy guide advice fails to be specific enough, because raw power numbers don't tell you the full story. Picking the strongest ability is less important than picking the right ability for your character and your matchup — for example, a projectile-reflecting barrier ability is completely useless against a team of close-range brawlers, while a low-damage bleed effect can snowball into a 40% HP swing during an extended neutral exchange. Always check the opponent's ability tags (melee, projectile, buff, zone-control) before locking your final loadout slot, since one misread matchup can negate an otherwise perfect build.
Ability Tier Logic
Rather than memorizing a flat tier list, it is more useful to think in terms of tier logic: an ability is only as good as the situation it is used in. The table below shows a representative example across the four archetypes, drawn from community testing rather than raw damage numbers.
| Ability Slot | Best Use Case | Worst Use Case | Tier Logic Note |
|---|---|---|---|
| Big damage cooldown | Finishing a low-HP opponent | Opening a fight against a full-HP tank | S-tier in cleanup, A-tier in opener |
| Mobility dash | Closing distance vs. zoners | Chasing an assassin into a corner | High value vs. ranged, low value in chase |
| Guard break | Punishing a held block | Throwing it raw at a mobile opponent | Forces a counter response if it lands |
| AoE / ground pound | Breaking up 1v2s | 1v1 duels in open arena | Best when third-party is likely |
The pattern is clear: every ability has a best case and a worst case, and good players only commit to the move when the best case is realistic. If you are not sure whether the best case applies, hold the ability and wait.
Cooldown Baiting in Practice
The cooldown bait is the single highest-impact technique in any Anime Ability Arena strategy guide, and it works by exploiting a predictable timing window: most abilities in the anime ability arena have a 6–14 second cooldown, and the AI (or opponent) commits to the same recovery animation every cast, which lets you reset neutral for free after baiting out a defensive cooldown. Once spacing is back in your favor, your next engage lands during the opponent's punish window where their damage output drops by roughly 30–40%, making the bait the foundation of every other tactic covered later in this guide.
Step 1: Engage the opponent and trade a single light attack—usually a jab or quick M1—to force their block or their first defensive cooldown, deliberately accepting the 8–12% chip damage in exchange for triggering a guaranteed response, because almost every Anime Ability Arena character in the first-time-playing tier will reflexively pop a 6–14 second defensive cooldown (Barrier, Counter, or Dodge) rather than risk a trade in neutral. This single baited cooldown is the resource your entire punish window is built on, and the light attack you spend is repaid several times over in the follow-up pressure that Steps 2–4 will unlock.
Step 2: Watch which cooldown they burn and note the exact length of the bar, because in Anime Ability Arena the recovery animation differs by ability type—Barrier locks out for 8 seconds, Counter for 10, and Dodge for a punishing 14, with the UI cooldown ring color shifting from white to blue the moment the move becomes punishable. Tracking the bar's fill rate (roughly 12% per second on a standard 100-unit gauge) lets you predict the punish window down to the frame, which is why first-time-playing opponents who spam cooldowns on reaction are the easiest matchups to snowball once you can read the meter.
Step 3: Reset spacing for the duration of their cooldown by backstepping roughly 8–12 studs (the standard Anime Ability Arena mid-range where your light attack startup of 6 frames still out-prioritizes their Block recovery) and avoiding any commitment to charge, dash, or special, because re-entering neutral too early is the most common first-time-playing mistake—whiffing a charged M1 inside a Dodge's 14-second lockout hands the opponent a free Counter punish the moment their bar refills, and it also telegraphs your Step 4 re-engage timing. Use the window to reposition toward wall corners, regenerate any stamina spent on the bait, and pre-buffer your next jab input so it lands on frame 1 of their punish window.
Step 4: Re-engage the instant the opponent's cooldown ring shifts from blue back to white (typically below 1 second remaining, usually the 7–13 second mark depending on whether they burned Barrier, Counter, or Dodge), and pre-buffer your jab so it lands on the first actionable frame rather than reacting on visual confirmation. Most first-time-playing opponents panic-input a second defensive cooldown the millisecond their bar refills, which chains into another 8–14 second lockout and hands you a free 30–40% damage punish window without ever re-entering neutral—if they instead try to raw-out with a special, your 6-frame jab startup still wins the trade because every special in Anime Ability Arena has at least 12 frames of windup, making the late re-engage the safest punish tool in the entire strategy guide.
This is the same flow that community guide creator ItsChalls uses in their how-to-get-Yen-fast video, and in practice it is the foundation of every other tactic in this Anime Ability Arena strategy guide: the 4-step bait-reset-engage-punish loop maps directly onto Yen farming routes where chaining 30–40% punish windows against cooldown-spamming AI in the Starter Village dungeon nets roughly 4,200 Yen per minute compared to the 1,100 Yen baseline of raw M1 trading, which is why first-time-playing players who skip Step 3 spacing and re-engage early lose the lockout window and cap out at under 1,800 Yen per run despite landing the same initial jab.
Late-Fight Execution and Reset Discipline
Winning the early fight is not the same as winning the round. Anime Ability Arena matches are 18-player free-for-alls, and most kills come from third-partying or catching a player who just finished a duel. The late-fight layer is what turns a winning position into a converted kill.
Reset Discipline
After every fight you take, your HP is low, your cooldowns may be down, and at least one other player is watching. The single best thing you can do in that moment is reset: disengage, eat a few seconds of safe regeneration (if available), and re-enter the map from a fresh angle. Players who chase kills immediately after a duel are the most common third-party victims.
The late-game guide for Anime Ability Arena expands this reset discipline into the full late-game loop, where fights are longer, cooldowns matter more, and the cost of a wasted chase often costs you the match. It walks through scenarios like holding zone control after a won duel instead of pursuing the runner, and when baiting an aggressive third-party with a feigned retreat actually sets up your team for a clean 2v1 collapse. That guide also covers macro-level reset windows, such as rotating back to spawn during ultimate cooldowns, that go well beyond the basic disengage covered here.
Third-Party Awareness
Keep a mental note of where the high-traffic zones are. The center ring always has the most action. The edge lanes have the most one-sided finishes. Position yourself so that you are never the one walking into an ongoing 1v1, because that almost always ends with two players turning on you at once.
Clean-Up Kills
The best players on the Anime Ability Arena leaderboard are not the ones with the highest damage; they are the ones with the highest kill conversion rate on low-HP targets. After you force a fight, watch for the opponent's HP threshold. Below ~30%, they have fewer options and your big cooldown becomes a guaranteed punish. The same logic applies in reverse: if you drop below 30%, you have to assume the enemy knows it and is holding a big cooldown specifically for you.
The Fight on a Timeline: 0 to 60 Seconds
To make the strategy guide actionable, here is the complete decision loop that every Anime Ability Arena fight should follow, condensed into a single cycle: before the match begins, lock in your archetype and read the map geometry to secure an escape route, then open with a light attack trade designed to bait a major cooldown between 2 and 5 seconds. From 5 to 15 seconds, dictate tempo by weaving combos and watching whether your opponent is reacting to your pressure or trying to reverse it, and during the 15 to 20 second bait window hold your strongest cooldown until the enemy bar nears zero, so the 20 to 25 second punish lands as a guaranteed punish confirm rather than a coin-flip trade. Finally, the 25 to 60 second reset phase is where third-party awareness matters most, since disengaging too early wastes pressure but staying too long invites a clean backstab.
| Phase | Time Window | Core Action | Key Check |
|---|---|---|---|
| Pre-fight read | 0-2s | Identify archetype, set spacing | Are you near a wall or escape route? |
| Opener | 2-5s | Trade light attack, force cooldown | Did you bait a big cooldown? |
| Mid-fight | 5-15s | Dictate tempo, weave in combos | Is your opponent reacting or dictating? |
| Bait window | 15-20s | Reset, wait for cooldown drop | Is the enemy cooldown bar near zero? |
| Punish | 20-25s | Commit big cooldown on reaction | Did the enemy panic-input? |
| Reset | 25-60s | Disengage, reposition, regen | Is anyone third-partying? |
Run this loop with discipline and you will find your K/D climbing within a few sessions. The reason it works is that every step is a decision, not an input, and the Anime Ability Arena best guide mindset is to make better decisions, not press buttons faster.
Frequently Asked Questions
What is the fastest way to get better at Anime Ability Arena?
Focus on one skill per session: positioning in match one, cooldown reads in match two, and reset discipline in match three. Most players try to improve everything at once and stall out. Pick a single weakness, queue 3-5 rounds with that focus, and let the other habits catch up naturally over the next few days.
Should I buy new characters or abilities first as a beginner?
Abilities first, because a strong ability on a starter character will outperform a new character with a kit you do not understand. Community testing suggests ability upgrades convert into wins faster than character purchases, especially in the first week of an Anime Ability Arena first time playing run.
How do I deal with three or more enemies focusing me?
Stop fighting. Disengage toward the center ring where other players are fighting each other, because group aggro usually breaks the moment a new 1v1 starts nearby. Trying to win a 1v3 in Anime Ability Arena is almost always a Yen-negative trade, even if you take one of them down with you.
Is there a best server for farming Yen?
High-population servers convert more kills per minute, but they also kill you more often. According to the Roblox games API data for Anime Ability Arena, the title is averaging roughly 11,900 concurrent players at last check, so peak-hour servers tend to be the most efficient. The currency farming guide goes deeper into the math if you want the full breakdown.
Do I need to learn every character to climb?
No, but you need to learn at least one from each archetype so you can flex into counters. Most top players main 2-3 characters and keep one pocket pick for tough matchups. An Anime Ability Arena complete guide approach always includes a roster plan, not a single-main grind.