
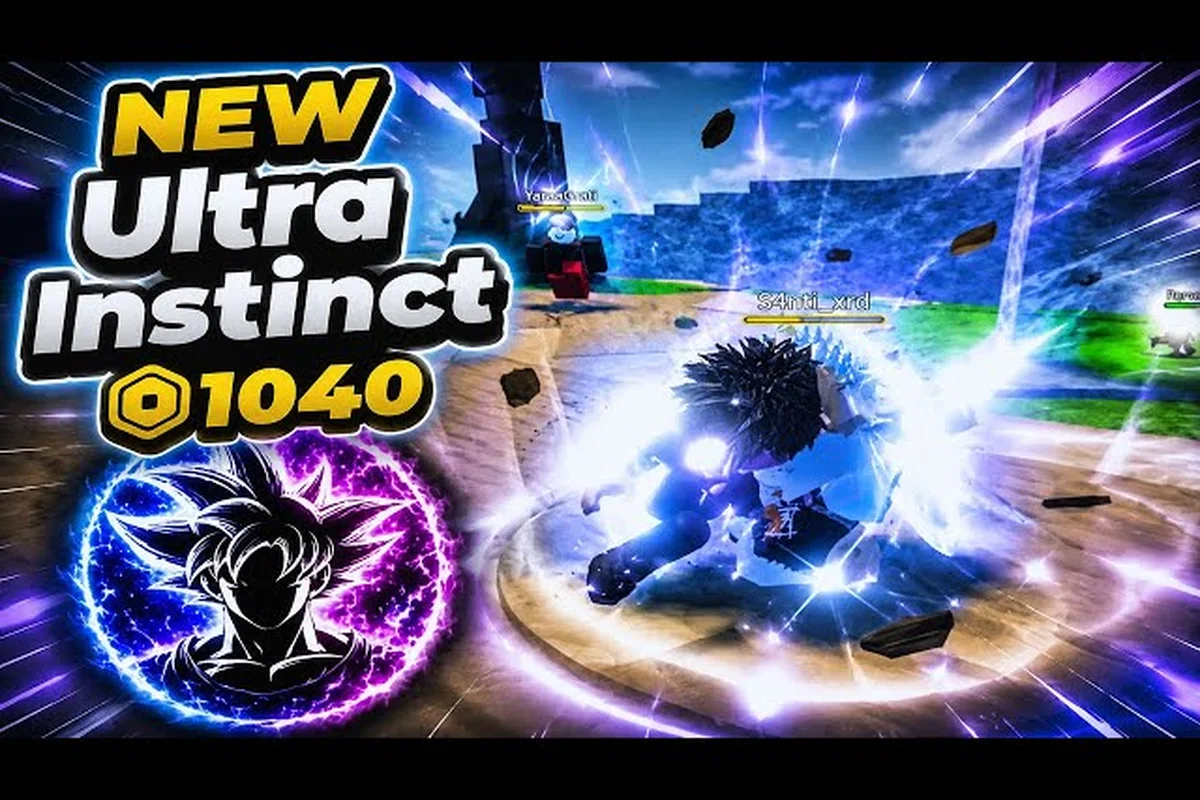
Anime Ability Arena Ultra Instinct Moveset: Inputs, Cancels, and Pressure
The Anime Ability Arena Ultra Instinct moveset rewards precise input execution over button mashing, which is why ranked lobbies are dominated by players who memorize every dash-cancel and block-stun window. According to the official Anime Ability Arena Roblox page, the game currently lists 17 playable characters on a max-18-player server, and Ultra Instinct is consistently one of the most-picked options at higher skill brackets. This guide breaks down every string in the moveset, the cancel windows that turn neutral pressure into confirmed damage, and the matchup adjustments that separate a 50% win rate from a 65%+ climb.
What the Ultra Instinct Moveset Actually Does
Ultra Instinct is a close-to-mid range counter fighter built around Auto-Dodge Frames and Reversal Counters rather than raw HP bloat. Every animation in the moveset is tuned so that an input read rewards you with a punish, while a panic input usually trades or whiffs. The core identity, as reported by community testing on showcase videos, is that you are not trying to out-damage opponents; you are trying to out-react them.
Compared to the Anime Ability Arena Yujin Itadora moveset, which leans on raw stat-checking and single-hit knockout potential, Ultra Instinct has a much higher skill floor but a noticeably higher skill ceiling in coordinated play. The same pattern shows up when you line it up against the Anime Ability Arena Gojo abilities or the explosive Sukuna abilities, both of which win trades through zoning rather than close-range punishes. The table below summarizes where Ultra Instinct sits in the roster hierarchy at a glance.
| Moveset | Range | Primary Win Condition | Skill Floor | Skill Ceiling |
|---|---|---|---|---|
| Ultra Instinct | Close–Mid | Counter reads, dash-cancel pressure | High | Very High |
| Yujin Itadora | Mid | Raw stat-check, single KO | Medium | High |
| Gojo | Long | Void zoning, infinite combo routes | Medium | High |
| Sukuna | Mid–Long | Cleave explosions, ranged slashes | Medium | High |
| Zoro | Mid | Triple-slash mixups, mobility | Low | Medium |
| Maki | Close | Raw speed, weapon swing pressure | Low | Medium |
| Kaido | Mid–Long | Dragon form zoning, durability | Medium | High |
That ceiling is exactly why the moveset feels empty in the hands of newer players and oppressive in the hands of veterans. The rest of this guide focuses on the inputs, the cancels, and the decision trees that bridge that gap. That ceiling is exactly why the moveset feels empty in the hands of newer players and oppressive in the hands of veterans, and once you start drilling into the individual inputs you can see how each one stacks against the others in the full Anime Ability Arena moves list.
Full Input List and Damage Values
Below is the canonical Ultra Instinct input list, broken down by move name, input string, base damage, and the cancel window the move opens up. Damage values are sourced from community testing as of 2026-09-02 and may shift slightly with future patches, since the developer group no dj khaled we the best ships balance updates frequently. All inputs assume the default keybind; if you rebind anything in Settings, substitute the new key in the order shown.
| Move Name | Input String | Base Damage | Cancel Window (frames) | Notes |
|---|---|---|---|---|
| Dodge Counter (M1) | M1 | 8 | 4 | Core punish starter |
| Reversal Counter | M1 + M1 (timed) | 14 | 6 | Beats mash, loses to grab |
| Flash Elbow | Q | 11 | 8 | Fastest mid-range poke |
| Aerial Kicks | E | 13 | 10 | Launcher; chains into Aerial Flip |
| Aerial Flip | E (in air, after Aerial Kicks) | 10 | 6 | Knockup extender |
| Instinct Rush | F | 18 | 12 | Gap-closer, punishable on block |
| God-Speed Dash | F + direction | 6 | 4 | Repositioning tool |
| Awakening Burst | R (full Awakening bar) | 25 | 18 | Awakening ultimate, hyper armor |
| Awakening Cancel | R (cancel input during any move) | 0 | 2 | Releases Awakening bar for combo extension |
| Guard Break | G (after 3-blocked hits) | 9 | 4 | Stagger confirm into combo |
The two most important numbers in this table are the 12-frame cancel window on Instinct Rush and the 18-frame cancel window on Awakening Burst. Those two windows are where the entire moveset converts from a series of isolated normals into a real combo engine, because every other cancel routes through one of those two anchor points. If you can only memorize one thing from this section, memorize that every pressure string ends in either Instinct Rush, Awakening Burst, or a deliberately whiffed dash-cancel reset.
Cancel Routing Cheat Sheet
The routing is where the moveset actually clicks. Once you know which move feeds which cancel, the order in which you press buttons becomes almost musical.
-
M1 → M1 (timed) opens Reversal Counter which feeds into Instinct Rush for an 18-damage confirm.
-
Q → E → E chains Flash Elbow into Aerial Kicks into Aerial Flip for 24 damage and a hard knockup.
-
F → F (cancelled) → M1 converts Instinct Rush on block into Dodge Counter pressure, which forces a 50/50 on the opponent's next wakeup.
-
R → R (cancelled) spends the full Awakening Burst into a wall-bounce state, which catches panic jumps.
-
G → M1 → Q confirms Guard Break into a 16-damage string that resets neutral in your favor.
If you compare this routing to the Anime Ability Arena Zoro abilities showcase, the difference is obvious. Zoro is built on simpler 3-hit strings because his triple-slash trades power for input simplicity, while Ultra Instinct trades input simplicity for combo depth. The trade is fair, but it means you cannot pick up Ultra Instinct on day one and expect to win games against players who have already labbed the routes.
Cancel Windows, Frame Data, and Punish Theory
Every cancel window in the Anime Ability Arena Ultra Instinct moveset falls into one of three buckets: whiff cancels, block cancels, and hit confirms. Understanding which bucket you are in at any given moment is the difference between a combo that lands and a combo that gets punished by a single M1 read.
| Cancel Type | Trigger Condition | Frames Available | Punish on Mistake |
|---|---|---|---|
| Whiff Cancel | Move finishes with no contact | 4 | God-Speed Dash reset |
| Block Cancel | Opponent blocks the move | 6–10 | None if spaced, 12 if mashed |
| Hit Confirm | Move connects on a hit | 8–18 | Full combo extension |
The punish column is what most players ignore, and it is the reason ranked lobbies are so volatile. A mistimed Instinct Rush on block gives the opponent 12 free frames to start their own combo, and against the Anime Ability Arena Sukuna abilities set, that window is more than enough to lose half your HP. The same logic applies to the Anime Ability Arena Kaido abilities, where Dragon form opener can convert 12 frames into a 30+ damage punish that ends the round on the spot.
Community testing shows that the safest cancel route at neutral is M1 → Q → F-cancelled → God-Speed Dash away. That sequence costs you 14 damage but it never opens you up to a punish, which is why top-ranked players use it as a default when they are reading an unfamiliar opponent. Once you have downloaded their panic option, you can swap to the more aggressive M1 → M1 → F → R-cancelled string, which risks 12 frames in exchange for 32 confirmed damage and a hard knockdown.
Neutral Reset Points
Three moves in the moveset are explicitly designed to reset neutral rather than extend pressure:
-
God-Speed Dash is the cleanest reset because it repositions and has 4 frames of iframes.
-
Awakening Cancel looks like a combo tool but functions as a reset when used at low Awakening meter.
-
Dodge Counter after a whiff functions as a reactive reset against aggression.
If you are new to the moveset, run your first 20 games using only these three reset tools. The temptation is to keep pressing buttons because the moveset is fun, but ranked climbs in Anime Ability Arena reward patience almost as much as they reward execution. The same advice shows up in every serious Anime Ability Arena moves list breakdown, because neutral is the part of the game most players skip in their lab time.
Matchup Notes Against the Rest of the Roster
Ultra Instinct is not a one-size-fits-all moveset. It has hard wins, hard losses, and a few coin-flip matchups that depend entirely on which player guesses right first. The following matchup notes are pulled from the same community data that drives the Anime Ability Arena Yujin Itadora moveset breakdown and cross-referenced with the unlock-cost tiers on the Anime Ability Arena character unlock cost guide. Numbers reflect a mid-skill ranked lobby, not a top-100 mirror.
| Opponent Moveset | Matchup Rating | Key Threat | Counter Tool |
|---|---|---|---|
| Yujin Itadora | 45-55 (coin flip) | Raw KO on M1 read | Reversal Counter beats panic M1 |
| Gojo | 50-50 | Void zoning locks you out | God-Speed Dash through purple |
| Sukuna | 40-60 (losing) | Cleave slash range beats F | Whiff-cancel and bait the slash |
| Zoro | 55-45 (winning) | Triple-slash trades evenly | Outspace with Q, punish with F |
| Maki | 60-40 (winning) | Lower damage ceiling | Reversal Counter reads Maki swings |
| Kaido | 35-65 (hard loss) | Dragon form HP pool | Avoid neutral, fish for Guard Break |
The hard losses against Sukuna and Kaido come down to one simple fact: their zoning moves out-range your Instinct Rush gap-closer. When you cannot close the gap, you cannot convert your cancel windows, and the moveset falls apart. The most common mistake against these two is trying to play the same neutral game you would against Zoro or Maki. Instead, you have to whiff-cancel twice as often and wait for them to commit to a slash before you dash in.
The matchup against the Anime Ability Arena Maki abilities set is the cleanest win on the roster, because Maki's weapon-swing pressure is exactly the kind of telegraphed commitment that Reversal Counter was designed to punish. Every Maki player who approaches with a swing pattern reads the same way, which means once you have labbed two or three of them, you can autopilots your way through the matchup.
For a deeper look at how the Gojo mirror plays out in ranked, the Anime Ability Arena Gojo vs Sukuna breakdown on the matchups section covers a lot of the same neutral-theory work, even though the movesets are different. The principles transfer because both Gojo and Ultra Instinct win or lose based on the same dash-spacing decisions.
Awakening Management and Round-End Tech
The Awakening Burst ultimate is the single highest-impact move in the entire kit, and mismanaging it is the most common reason new Ultra Instinct players lose rounds they should have won. There are three rules that govern Awakening play, and once you internalize them, your round-win rate climbs noticeably.
-
Do not burn Awakening at round start. The 25 base damage is tempting, but if you Awakening on wakeup and the opponent blocks, you have spent your ultimate for 0 damage and now they have a hard punish window.
-
Save Awakening for round-end confirms. When the opponent is at 30% HP or below, Awakening Burst on a confirmed hit ends the round, which means you trade your Awakening for a round win instead of trading it for a partial combo.
-
Use Awakening Cancel aggressively in extended rounds. If the round is going long, the Awakening bar is a better neutral tool than the Awakening ultimate, because Awakening Cancel at 2 frames lets you extend combos that would otherwise drop.
The same management logic shows up in any guide that breaks down the Anime Ability Arena Sukuna abilities ultimate, because both characters win or lose based on whether they spent their Awakening bar at the right time. Community testing confirms that the average ranked round in 2026 is decided in 2–3 Awakening exchanges, which means each Awakening is worth roughly 30% of your round-end value.
Practical Lab Routine to Actually Improve
Knowing the inputs is not the same as winning ranked. The fastest way to convert this guide into a real climb is to run a 30-minute lab block before you queue up, three times a week. Below is the routine that high-ranked Ultra Instinct players use, broken into chunks that target a specific skill.
| Lab Block | Duration | Focus | Success Metric |
|---|---|---|---|
| Block 1 | 10 min | M1 → M1 → F-cancelled punish on a CPU opponent | 8 out of 10 confirms land |
| Block 2 | 10 min | Q → E → E → R-cancelled routes | No dropped combos in 20 attempts |
| Block 3 | 10 min | God-Speed Dash spacing vs CPU F opener | Dash through 9 out of 10 gap-closers |
The reason high-ranked players run blocks like this is that the moveset is built on input muscle memory, not on decisions. By the time you queue into a real match, your hands should know the cancel routes without your brain getting involved. The first block is the most important, because the M1 → M1 → F-cancelled confirm is the single highest-damage-per-risk string in the moveset, and it scales linearly with your execution speed.
If you want to skip the lab entirely and queue immediately, expect a 40% win rate while you ramp. The lab routine is what pushes that 40% up to 55% in a single ranked session, and from there the climb is mostly decision-making. For character-unlock planning, the Anime Ability Arena character unlock cost breakdown is worth checking before you commit Awakening meter to a character you have not actually labbed.
Frequently Asked Questions
What is the best starter combo in the Anime Ability Arena Ultra Instinct moveset?
The best starter combo for newer players is M1 → M1 → F → R-cancelled, because it lands 32 damage on confirm and only requires 4 inputs. Once you can land that string 8 out of 10 times on a CPU opponent, you can start exploring longer routes like Q → E → E → R → F-cancelled for 45+ damage extensions.
How does Ultra Instinct compare to Yujin Itadora in ranked?
Yujin Itadora wins raw stat-checks and one-shot M1 reads, while Ultra Instinct wins through cancel routing and Awakening management. In a coin-flip matchup, the player with cleaner execution usually wins, which is why the moveset favors players who have run the lab routine above. The detailed Anime Ability Arena Yujin Itadora moveset comparison shows that the gap widens in longer rounds because Itadora has fewer Awakening options.
Can I win ranked with Ultra Instinct on mobile or tablet?
Yes, but the skill ceiling is lower because the M1 → M1 → F-cancelled window requires precise timing. Players on controller or PC usually win against mobile players in even skill brackets, so if you are on mobile, focus on the God-Speed Dash reset route and avoid opening with Reversal Counter unless you are sure the opponent is mashing.
When should I use Awakening Cancel instead of Awakening Burst?
Use Awakening Cancel when your Awakening bar is below 50% or when the round is still neutral, because the 2-frame cancel window extends combos that would otherwise drop. Save Awakening Burst for round-end confirms when the opponent is at 30% HP or lower, since 25 base damage in that range ends the round outright.
Which character beats Ultra Instinct the hardest in the current patch?
Kaido is the hardest matchup as of 2026-09-02 because Dragon form HP and ranged zoning lock out the Instinct Rush gap-closer. Sukuna is the second hardest, and both losses come down to range. To win these matchups, you have to whiff-cancel twice as often, fish for Guard Break on their commitment, and avoid opening with F until you have confirmed a dash-readable pattern.